
MudMixer Assembly & Setup Guide
Setting up your MudMixer correctly will help you get the best performance from your machine from day one. Our MudMixer setup information takes you through the key steps required to prepare your mixer for use.
Follow the assembly instructions supplied with your MudMixer and use the resources below to help you get your machine ready for its first mix.
Before You Assemble Your MudMixer
Before beginning assembly, choose a clean, stable work area with enough space to safely handle the machine and its components.
The MudMixer is a heavy piece of equipment and the manufacturer states that two people are required for lifting and assembly. Do not attempt to lift or turn the machine into position unaided.
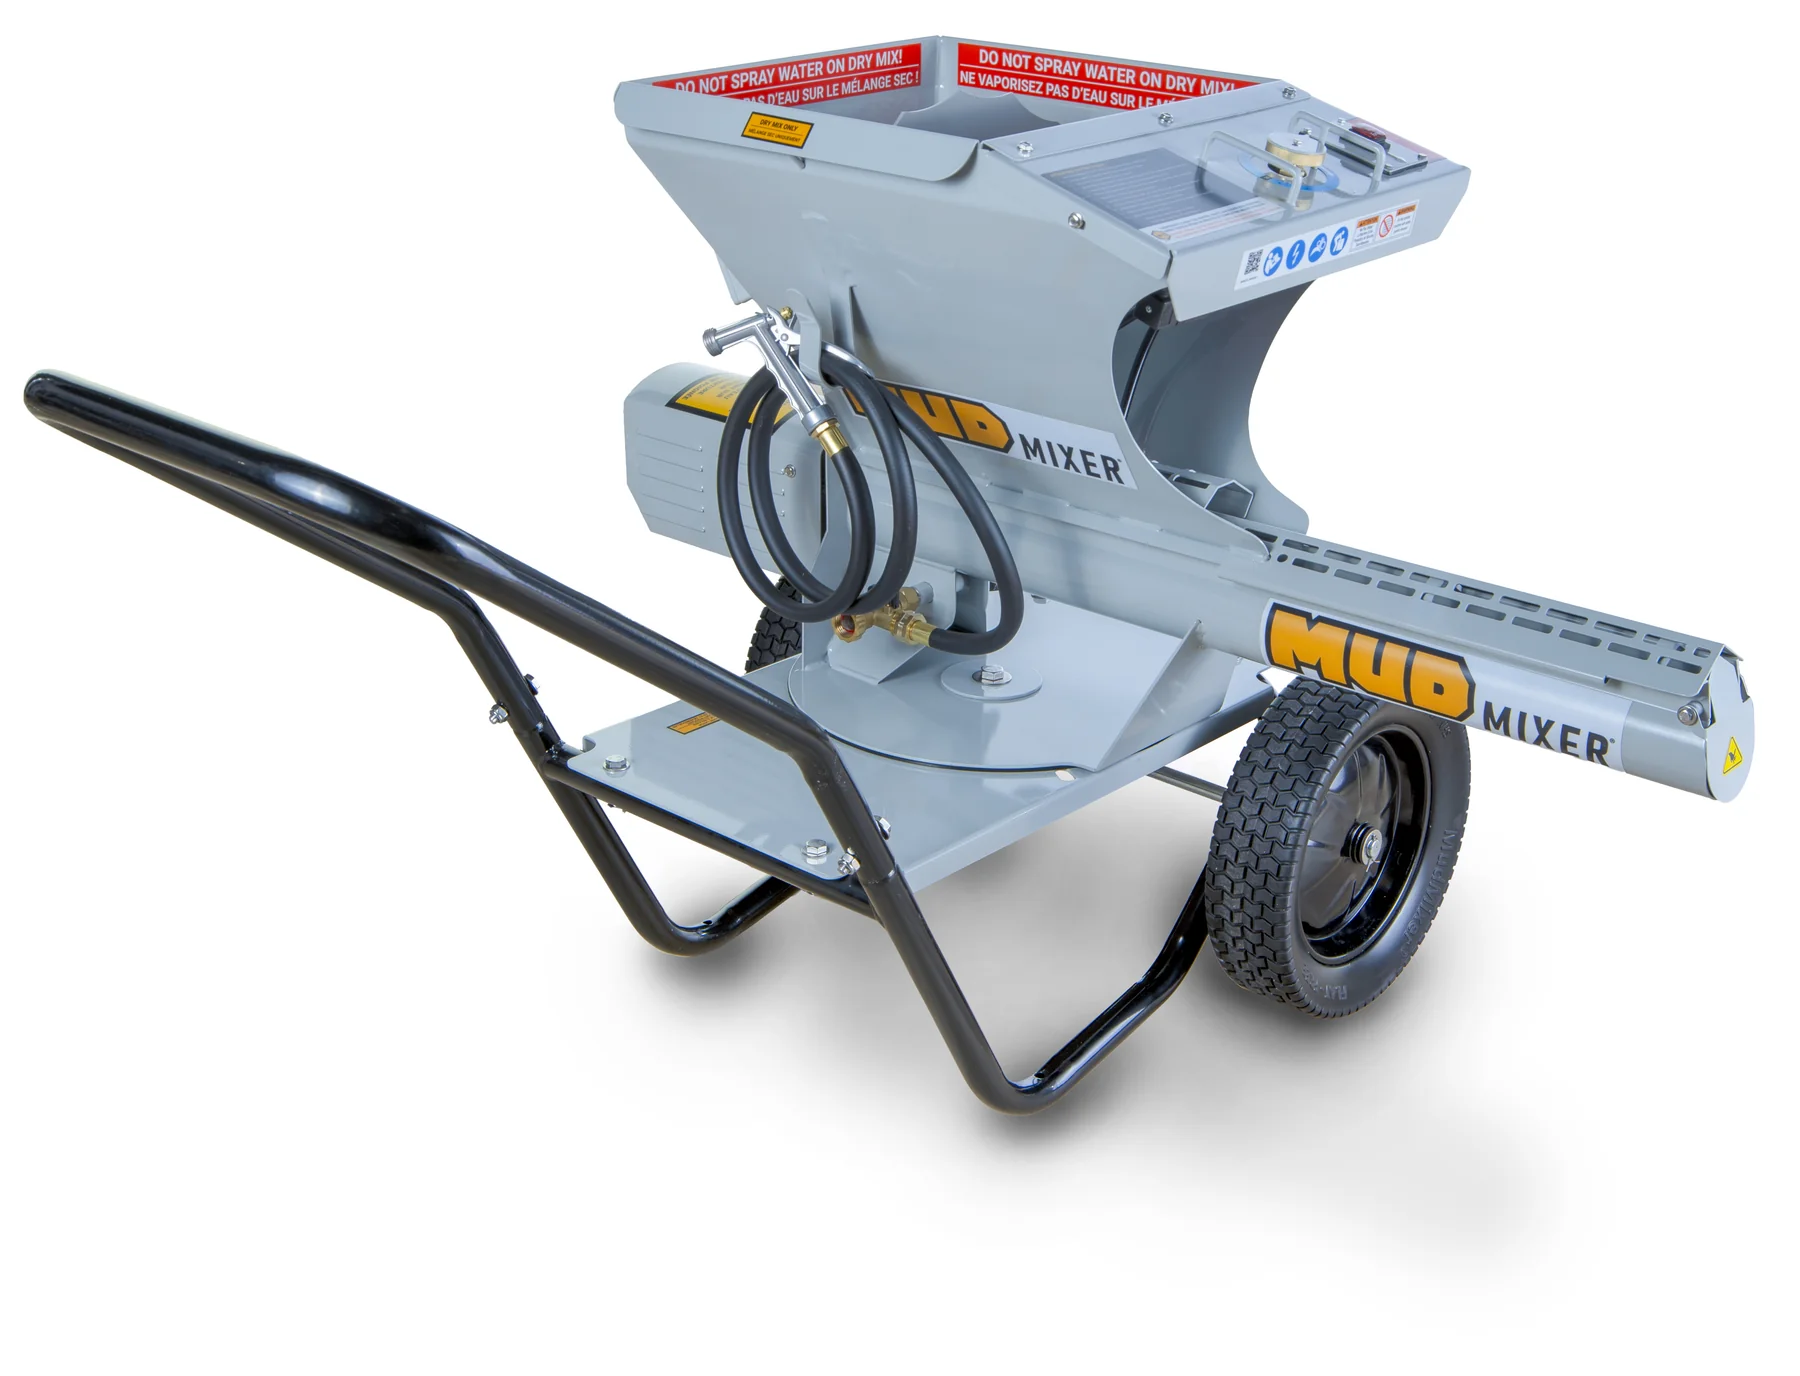
Carefully unpack the carton and check that all components and hardware required for assembly are present. The main assembly components include the machine base, wheels, handle, frame base, circular pivot bushing, axle shaft and base plate.
Keep a large section of the shipping carton to use as a protective mat while assembling the machine.
If any components appear to be missing or damaged, do not use the machine. Contact MudMixer UK for assistance.
How to Assemble Your MudMixer
Only three basic tools are required for assembly:
Adjustable or channel-lock type pliers
17 mm wrench
22 mm wrench
The MudMixer should be assembled on cardboard or another suitable soft, non-scratch surface.
Assembly Overview
Place the MudMixer base upside down on the protected work surface.
Position the circular pivot bushing on the mixer base with the webbing facing upwards.
Position the base plate and align the centre hole and pivot latch.
Install the base plate fasteners, washers and spring as shown in the supplied instructions.
Tighten the base plate nut until the spring is almost compressed, leaving small gaps between the spring coils.
Fit the frame base to the mixer base plate and secure it using the supplied bolts, washers and nuts.
Install the frame handle and secure it with the supplied fixings.
Fit the axle shaft and wheels, ensuring the wheel grease fittings face inwards.
Pivot the frame handle through 90 degrees.
With assistance, use the frame handle to carefully turn the assembled MudMixer onto its side.
Raise the machine onto its wheels.
Always follow the assembly diagrams and safety instructions supplied with your MudMixer. Two people are required when lifting or turning the machine during assembly.
MudMixer Assembly Video
Watch the MudMixer assembly video for a visual guide to setting up your machine and preparing it for use.
Before Using Your MudMixer
Before operating your MudMixer for the first time, carry out the following checks:
Position the MudMixer on a firm, level surface capable of supporting the machine and the material being mixed.
Secure the machine using appropriate staking methods where required.
Make sure the pivot pin is correctly locked into the base plate.
Set the water control dial to the zero/off position.
Make sure the auger forward-stop-reverse switch is in the centre Stop position.
Connect the water supply securely. The manufacturer recommends a minimum water pressure of 40 psi and permits a maximum inlet pressure of 80 psi.
Connect the machine to a suitable earthed electrical supply.
Test the RCD/GFCI protection device before each use.
Ensure the power cable is kept clear of the working area and does not create a trip hazard.
Read and understand the operating and safety instructions supplied with the machine before use.
For the UK MMXR-2303 model, the manual specifies a 230 V, 50 Hz, Type G earthed power connection.
s are complete, your MudMixer is ready to be prepared for its first mix.
Important: This page is intended as a quick assembly and setup guide. Always refer to the official MudMixer instruction manual supplied with your machine for complete assembly, operation and safety information.
Need Help With Your MudMixer?
If you need help with assembly, setup or operation, visit our MudMixer Support page or browse our MudMixer FAQs for answers to common questions. You can also view the full MudMixer Specifications or browse our Videos for additional product guidance.